Camera kit and photo processing for this trip
17 Nov 2019
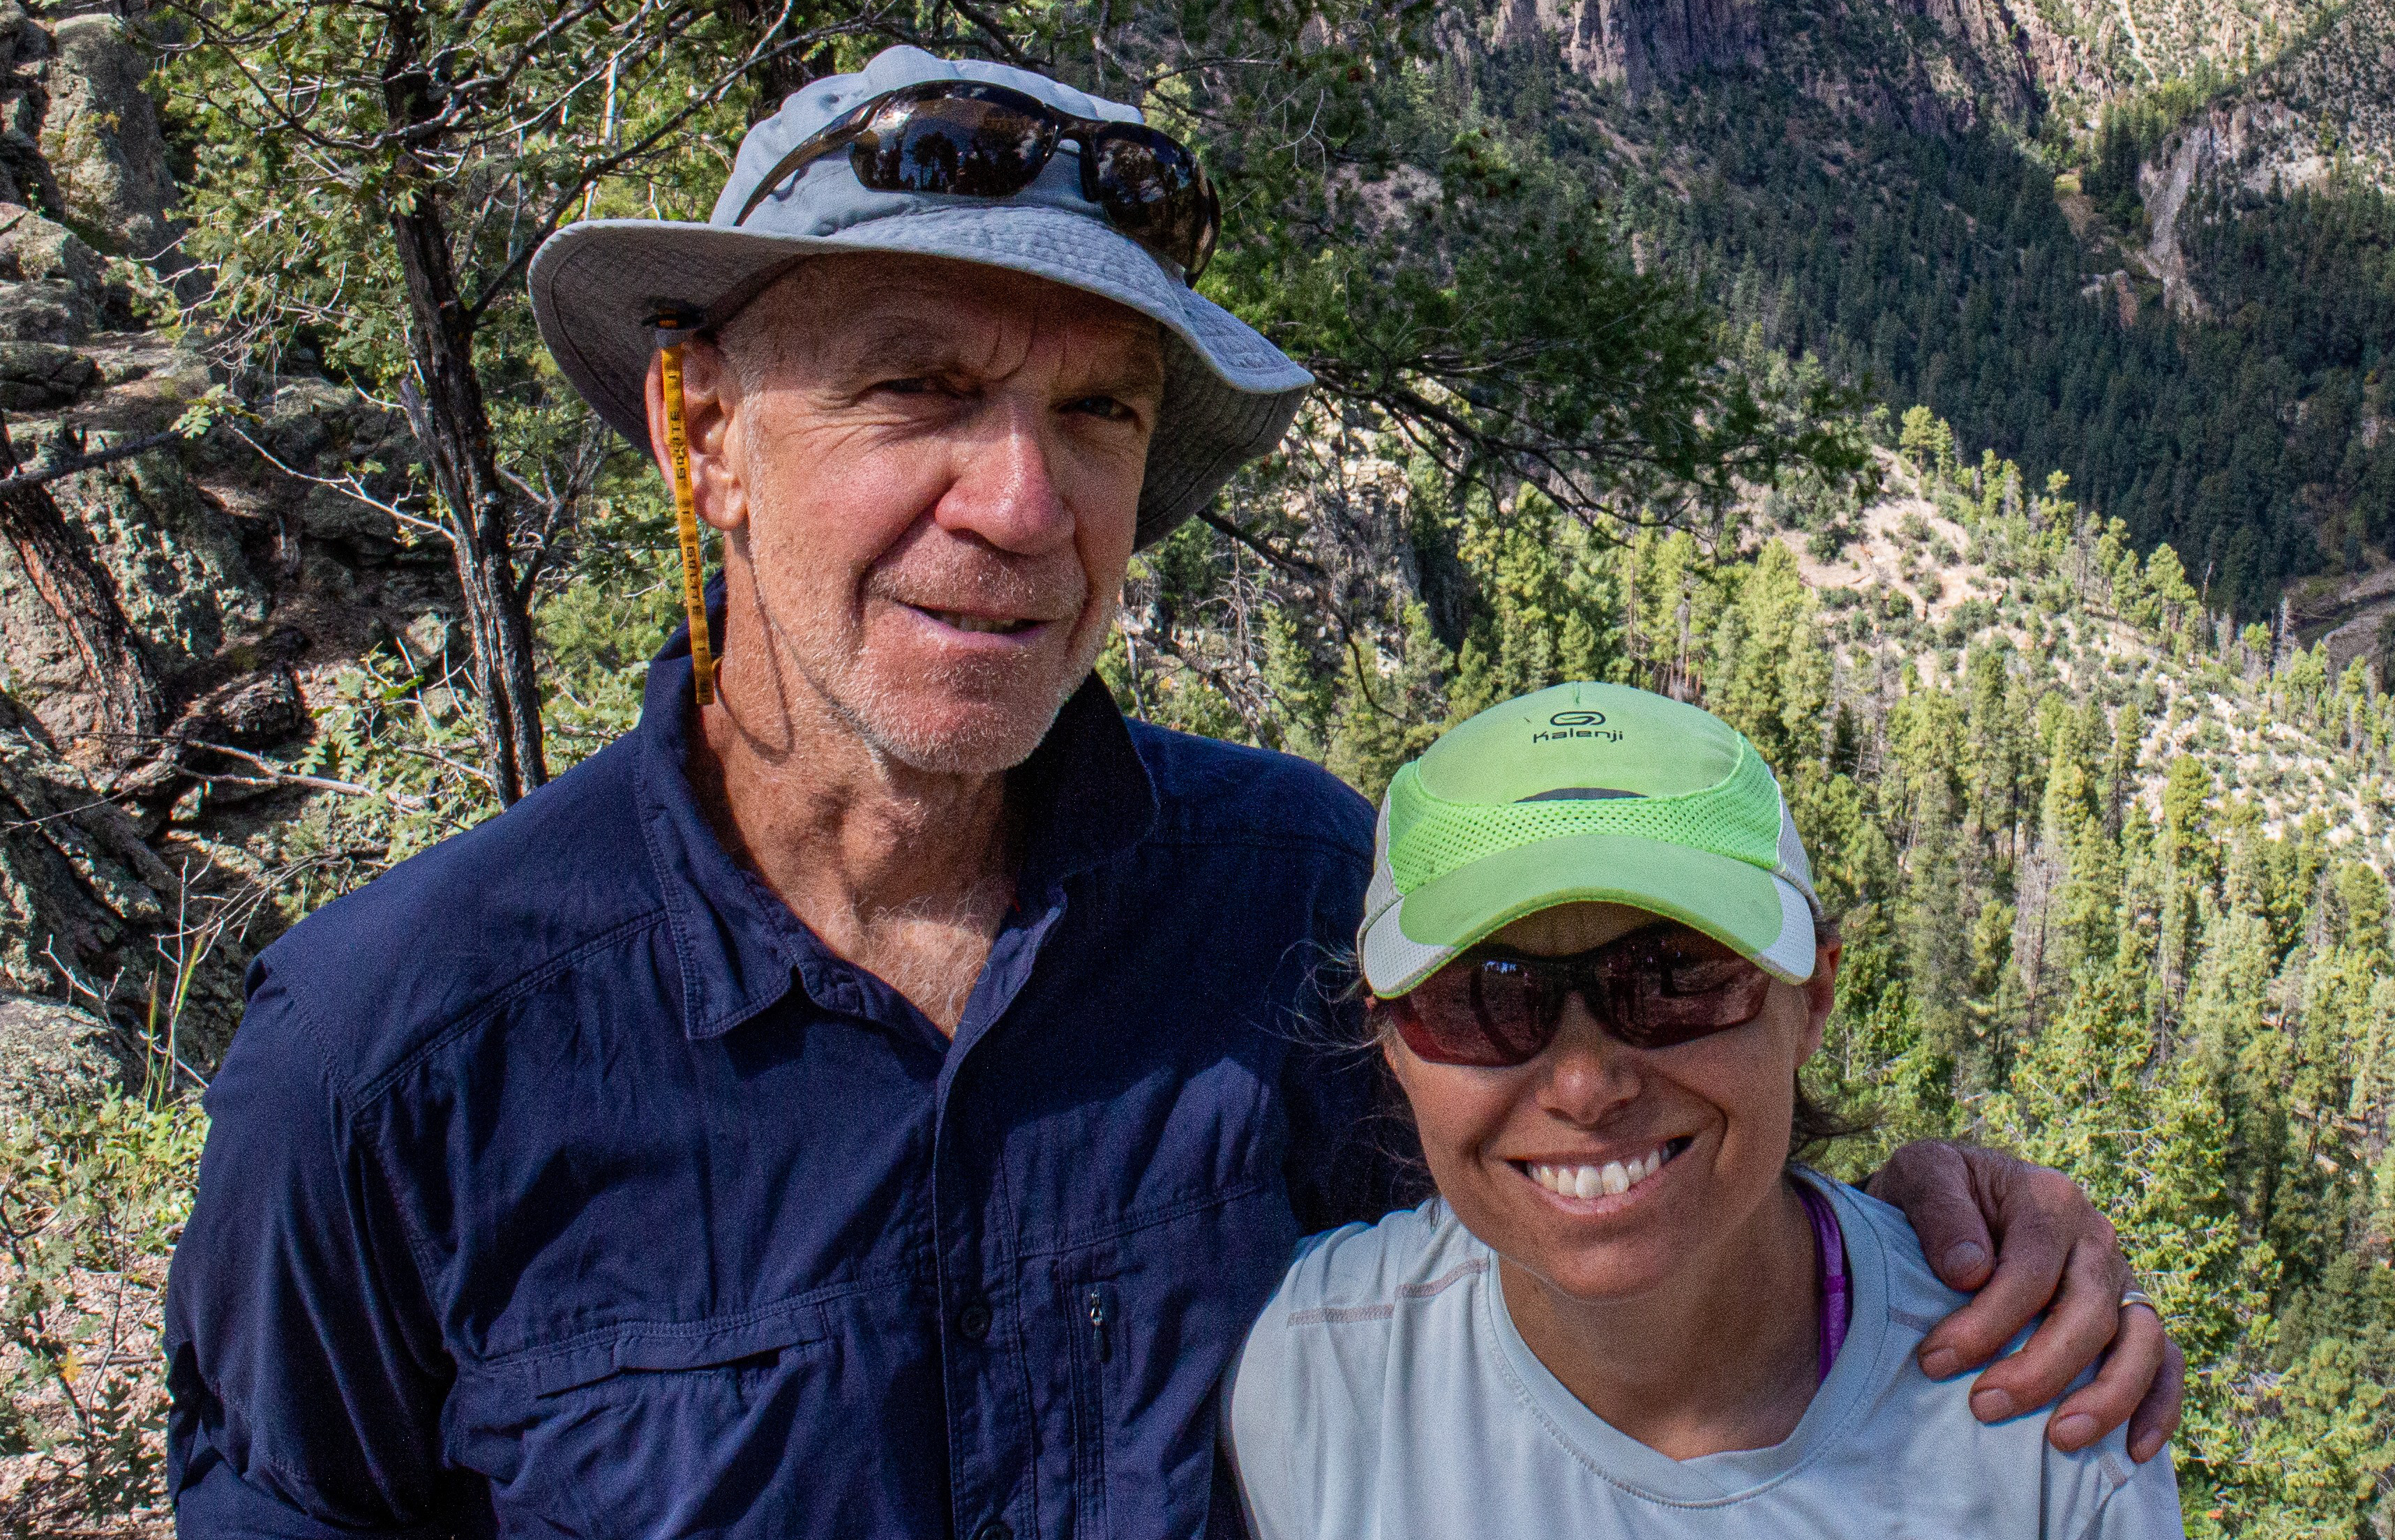
We all know that I like to point cameras at stuff. The ratio of my good shots to my total shots taken might be really, really low but I don’t let that stop me. So, I of course brought camera gear on this trip, but we’re trying to travel light, living out of a backpack each on our 10 week trip.
A few years ago we took a trip to southern Costa Rica where the limits for the weight of our luggage was so tight that I worried I might have to leave clothes behind and only take camera gear! Luckily you don’t need much in the way of clothes in southern Costa Rica where the weather is always nice.
That’s not an option in the mountains of Peru or along the Carretera Austral in southern Chile. I need a enough clothes to stay warm and dry (we’re learning it rains a lot here in Cusco – it is raining as I write this), so the camera gear I brought had to be light as did any computer I brought to run Lightroom/Photoshop for post-processing.
So here’s how I solved the problem of going light but still being able to take acceptable photos, do some limited post-processing and sharing them here and on FB so you can follow along on our trip in South America.
My light-weight Camera Kit
First, I wanted a camera with a crop sensor to help reduce the size of the body as well the size of the lenses I’m carrying around. I also wanted to stick with an interchangeable lens camera so, even though there are some really nice point and shoot travel cameras out there, I’ll have more flexibility if I carry a few lenses.
There are some really good options out there, with Sony and Olympus at the top of the list, but I’m currently pretty heavily invested in Canon glass so I stuck with that. Canon helped me out here with their recent introduction of the EOS M6 Mark II which is a significant upgrade from the previous versions of the EOS M.
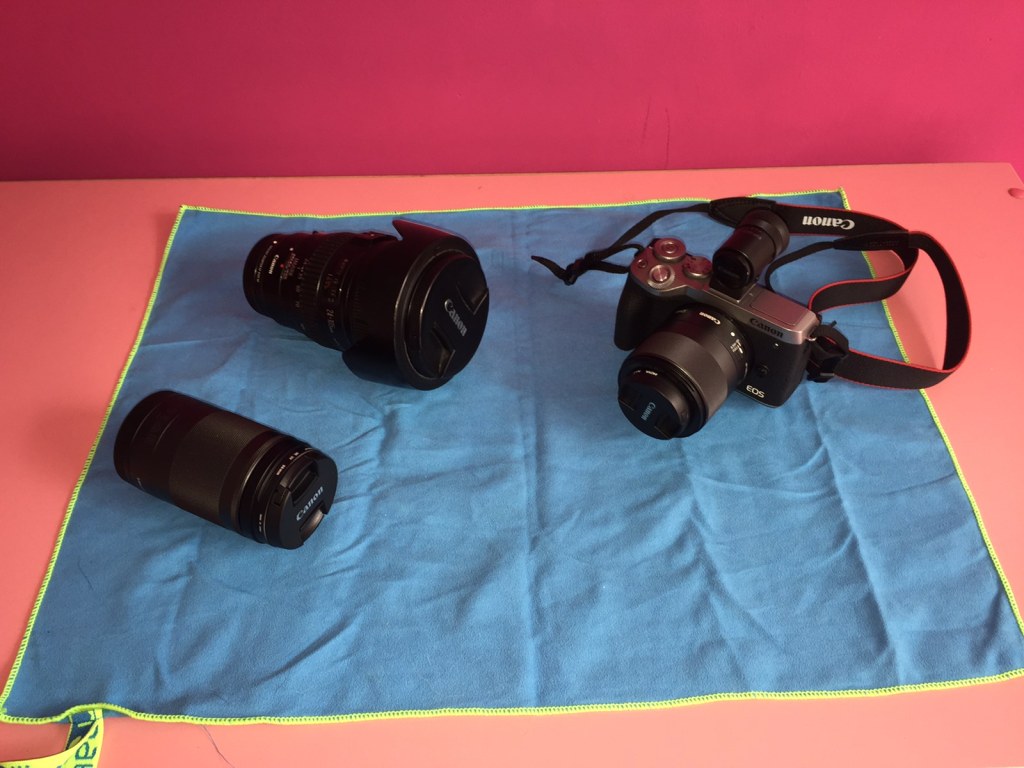
Camera Kit List
- Canon EOS M6 Mark II – small and light mirrorless 32.5 Mega-pixel body – I’m also using the EVF-DC2 hot-shoe mounted electronic viewfinder with this rig
- EF-M 32mm f/1.4 prime lens – it’s small and fast so this is my everyday walking-around lens
- EF-M 18-150mm f/3.5-f/6.3 – relatively small telephoto but not very fast
- EF 24-105mm L-series f/4 – this is my one concession to a bit more weight but it’s a higher quality lens and relatively fast of the zoom range (Susan here… really, he brought 3 lenses? That is why I had to carry a few of his things…)
- EF to EF-M lens adapter so I can use the EF 24-105mm
- Gitzo GT-0541 carbon tripod – this is a really light, and not exceedingly stiff, tripod that works fine with a light camera – using the M6’s electronic shutter, instead of the mechanical shutter, eliminates vibration improving the performance of this light tripod setup
- Really Right Stuff BH-30 ball head – again, like the tripod, this is pretty light gear but for my light travel setup it works well
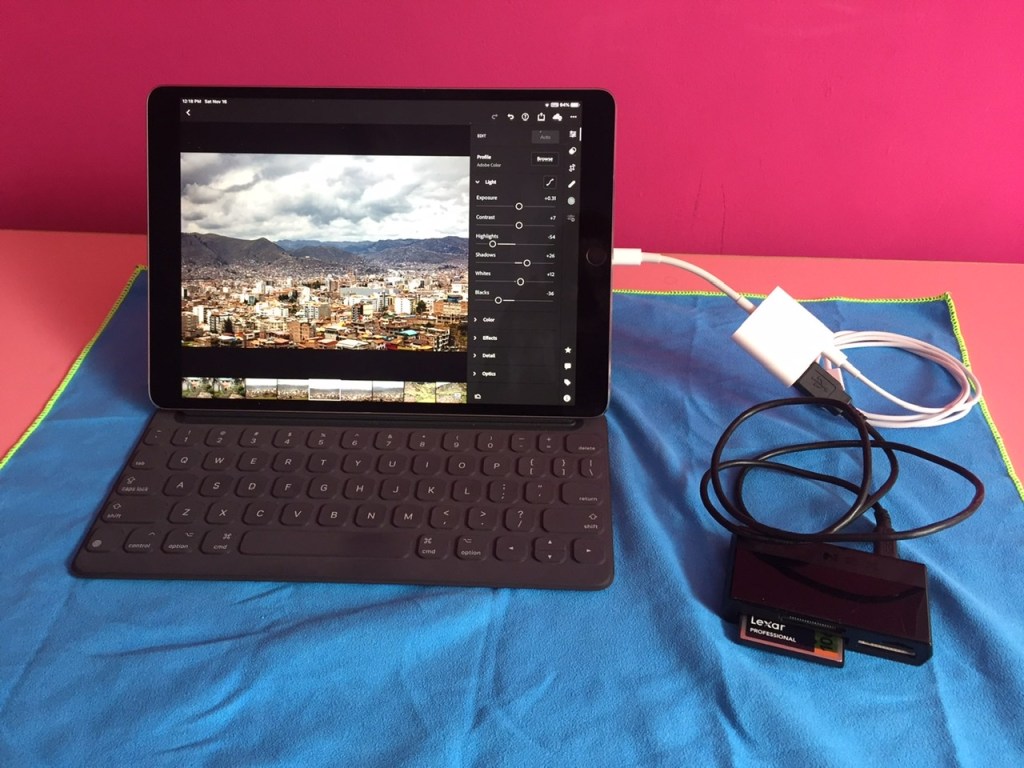
Post Processing without a “computer”
On a lot of trips I carry a laptop which provides more computing power but is heavy to pack around. My typical setup would be a MacBook running Adobe Lightroom and Photoshop. However, to get the weight and size down I decided to try using Lightroom Mobile running on an iPad.
Apple has recently made this a lot easier with iPadOS which now has a little better file handling capabilities, than previous versions of iOS, and can read and upload files from external media – SD/CF cards, memory sticks and even external hard drives. Using the improved file handling I’m able to read the camera card and upload the images into files on the iPad. I’m also able to copy files from the camera’s SD card to an external CF card for backups.
This is better than it was in previous versions of iOS but it’s not as easy as working on a computer. We’ll take baby steps though and this is heading in the right direction.
What would be nice would be if I could read files directly into Lightroom from the camera’s SD card. I don’t know if it’s Apple’s fault or if it’s Adobe’s fault but right now that capability doesn’t exist. So, my flow is to copy my image files into a temporary folder on the iPad then copy those image files into my archive folders in Lightroom. It sounds cumbersome but I’ve gotten so that it’s pretty quick, especially if I deal with it daily.
Archiving and Post-Processing List
- iPad – 10.5” iPad Pro
- Apple Smart keyboard
- Powered Lightning to USB adapter
- Card reader – reads both SD and CF cards
- Adobe Lightroom Mobile
In general, Lightroom Mobile is working great and the iPad has enough processing power to make a first cut at the images. I think the only things missing from LR Mobile that are Available in LR Classic are the capabilities to merge HDR images and to merge Panorama images. I can live without those here and who knows, Adobe might add them in one day.
Archiving isn’t as clean as in LR Classic but I’ve created a system that is working for me. In LR, I’ve created folders for each of the regions where we’ll travel. Then, in each of those folders, I create a gallery that is named by date. So, the general structure looks like:
LR/Shoot-Name/Date/<images>
This archive approach matches what I do in Classic and it works well for me.
That’s it and I promise, maybe, not to do that again …
Questions and Comments are welcome

A bit of Greek to me. I’m just happy you take the time and effort to take and share your wonderful photos. Enjoy your class tomorrow!
LikeLike